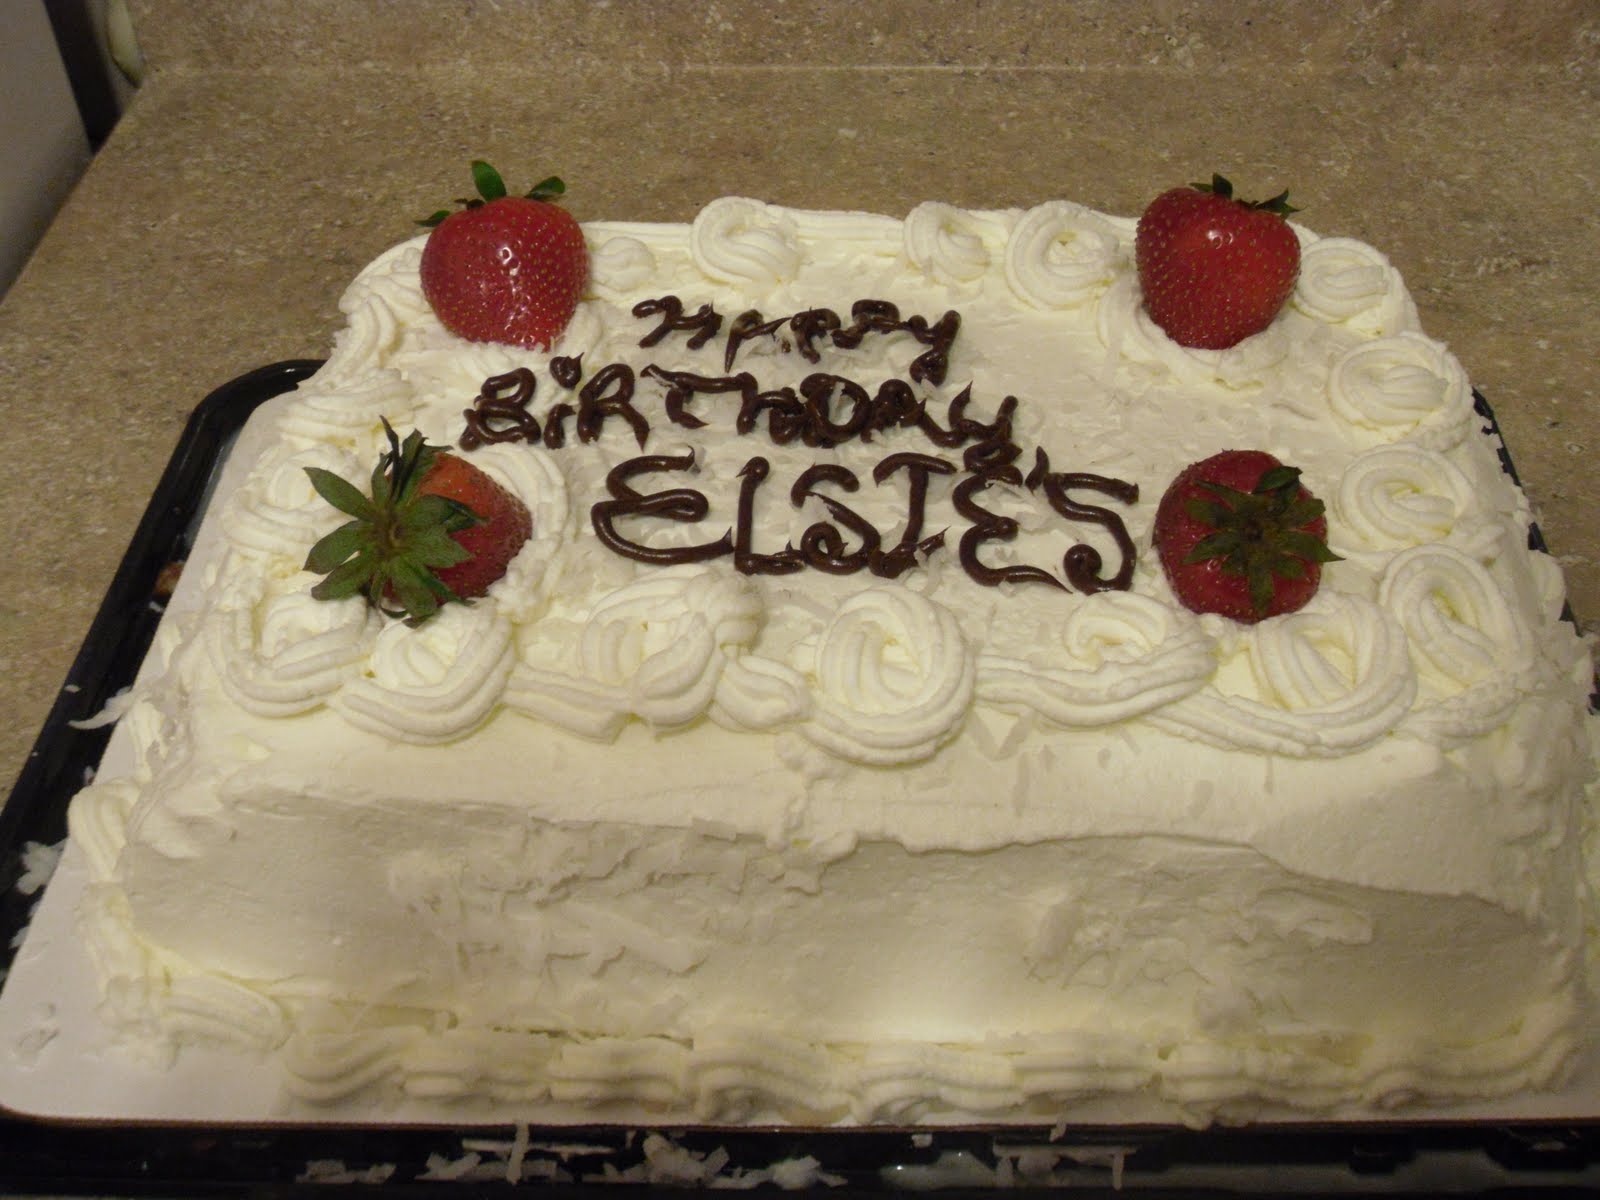
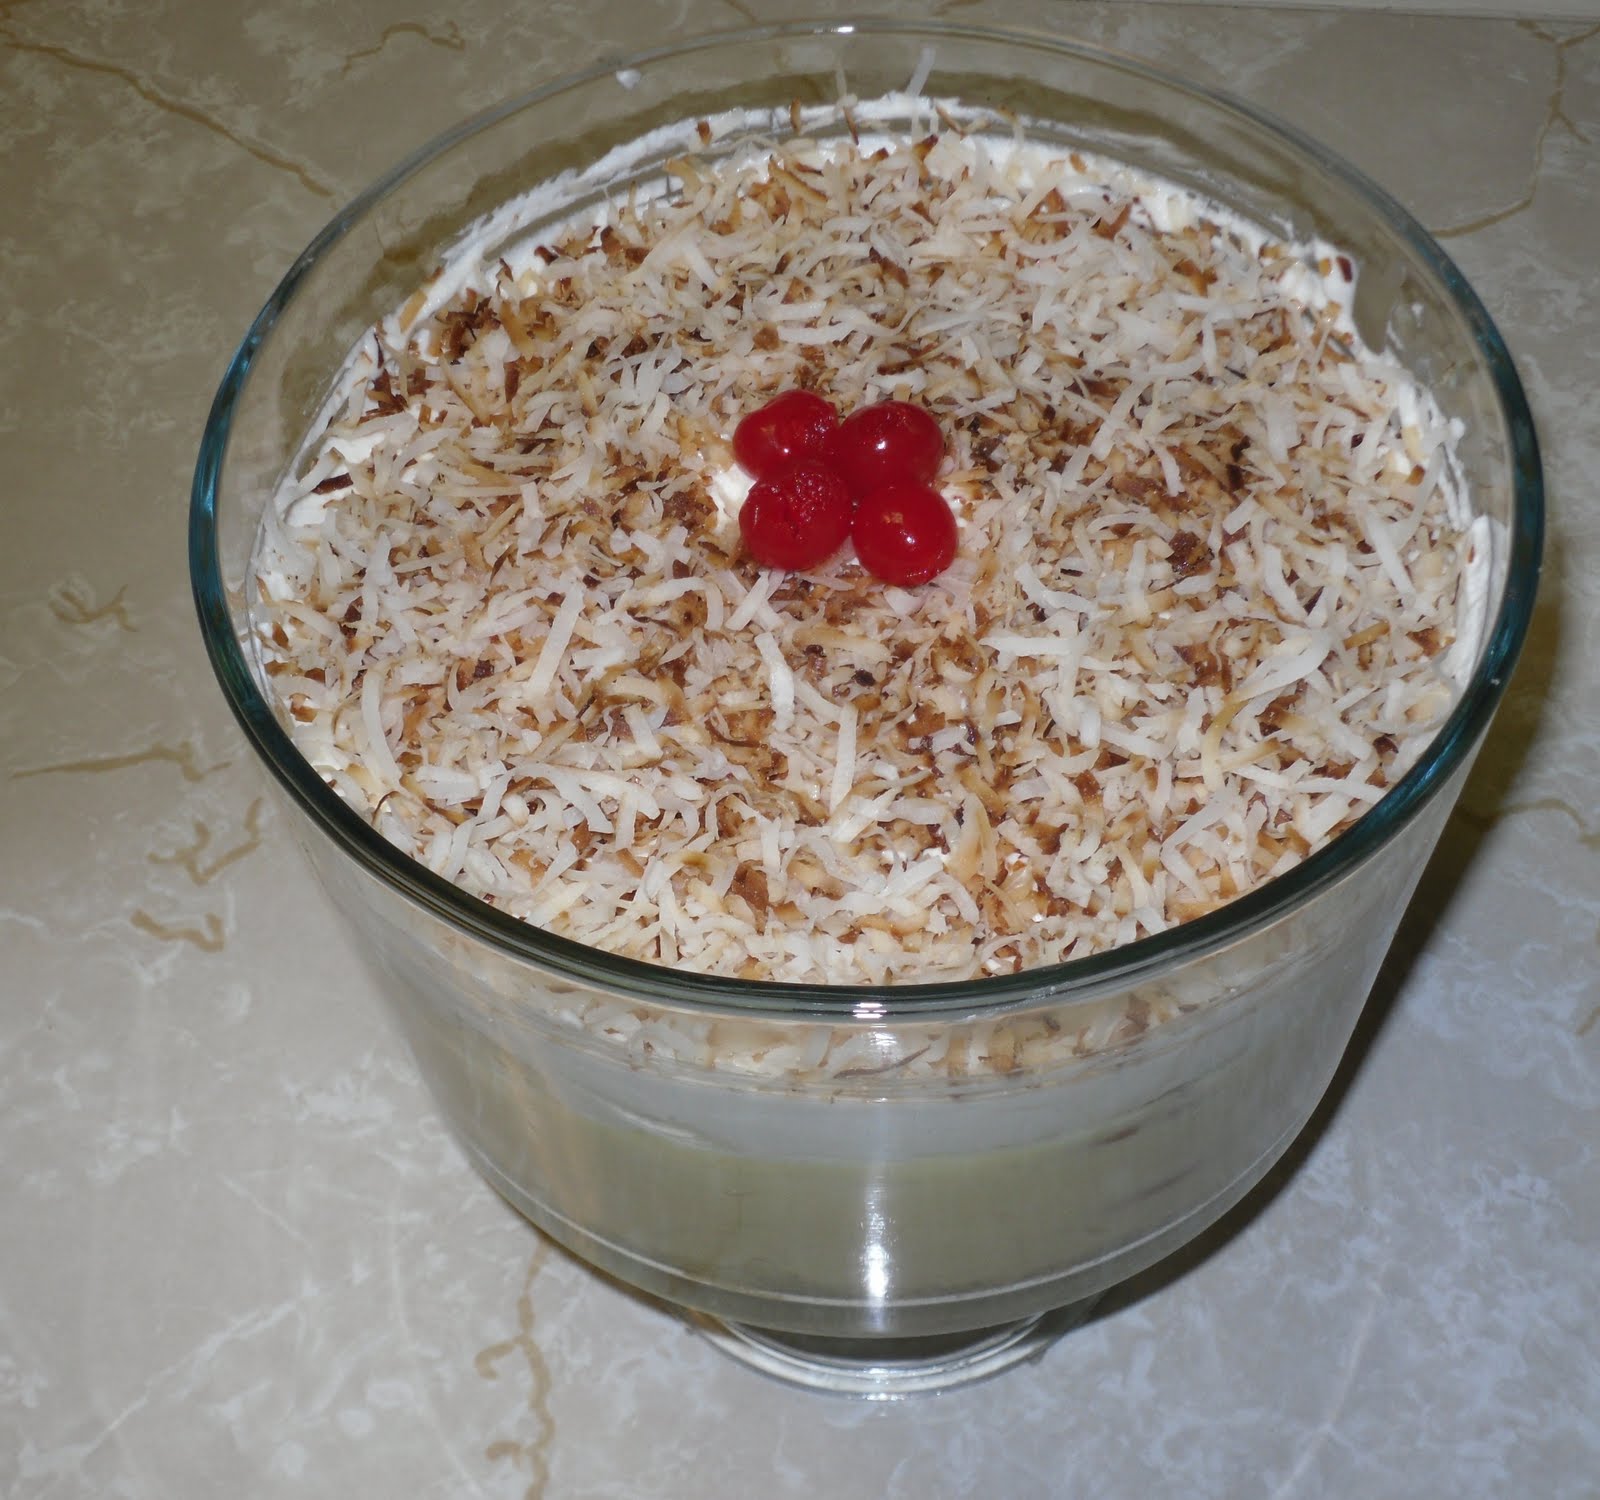
Saturday, February 18

# 3 & 4 baking 'Must Haves'

3. 2 cup measuring cup
( How can you follow a recipe that tells you a certain measurement and you don't have the measuring cup to properly measure the ingredients out. This is the number one reason why recipes come out wrong)

4. Round and rectangle tray
( You need a plastic round tray and a rectangle one so you can put your dessert on when your done with it. This can even be found in the 99cent store. This allows your dessert to fit properly onto the tray and looks better to serve in than to just place it on a plate or plastic container)

Thursday, February 16

# 2 baking 'Must Have'

2. Different baking pans
( It is always good to have various types/styles of baking pans. The must haves to start of with should be: bundt pan, rectangle pan, and loaf pan for pound cakes. A proper pan defines the style of your cake/ dessert)

Join me tomorrow for the third baking must have

Wednesday, February 15

7 baking ' Must Haves'

7 baking must haves
and if you don' t have them, then go get it!

"It should be illegal to bake without them"

1.Hand mixer
( An always must have in the kitchen. This is the number one utensil used in baking. Especially for cakes. It ensures an even mix for your cake.)

Come back tomorrow for the number two baking 'Must Have'.


Bare with me!

Hello everyone, I know it's been a while since i last posted, but I am in the process of moving and I still haven't settled down yet. As soon as I settle down I will post another recipe. My next recipe will be cheesecake for my friend Nancy from Namibia. I appologize Nancy that I am delaying with your recipe, please bare with me and allow me one more week so I can find the recipe to post for you.

Thank you for understanding and I hope to see you visiting my page often.

Friday, January 27

Get excited about baking

In order for you to bake something sweet or salty, you need to actually make baking fun!

"You need to have the will power to bake. Take the initiative. " Elsie Da Silva

Baking can be exciting and fun if you make it out to be. It doesn't always have to be full of sugar. You can bake something sweet and healthy as well, or you can go all out and get fat for a day. Its all about Chocolates, and caramel, ice-cream, and pies, cheesecake, and fruits, puddings, coconut, mouse and more. If you like to eat, then you like to bake. You just haven't taken the initiative yet.

If you can go to the store and buy a slice of cake or some junk food, even if that means a box of cookies, then you like to bake. Baking is for everybody who likes to eat (That means the whole universe). Everyone has to eat, so why not make it fun and/or healthy.


Why go buy something sweet when you can make it with your own two hands?

Its cheaper to do then buy, and its much healthier because you put what you want in it. Plus you know everything that's in it because you made it.

Everyone around you will be excited to eat what you made, and most importantly, you will be happy with yourself because you took the initiative.


My point is: learn how to do things with your hands and stop depending on buying something someone else made. Do it yourself and I guarantee you, it will turn out better than the store bought ones...

My mother always taught me to learn how to do things yourself from scratch. She always said 'There will be a day that you need something and you want to make sure you know how to do it. Don't depend on others for you to have it.' She's a very wise woman...

Tuesday, January 24

Is there a baking recipe that you would like to do?


Have you been wondering how to bake something and you don't want to try it because you don't want to mess up?

Let me know what it is that you want to learn to bake.
Comment below in the comment bar something sweet that you want to learn to make and I will be baking these items and posting them on my blog.


Whenever you use a recipe or baked something that you saw here on my blog, please send me your pictures by email. And, if you don't mind I will post them on my blog as well! My email is elsienleonardo@yahoo.com. Please don't forget to add your name and the country you are from. Thank You!

Wednesday, January 18

Chocolate Surprise


This is one of the most different and most delicious cakes I have ever done. You gotta make it, its that good!!!!!!!!!!!!!!!

Chocolate cake
3 eggs (Separate the egg yolks from the egg whites)
1 1/2 cups sugar
1 1/4 cup flour
1/2 cup of Hershey cocoa unsweetened
1 cup milk
1 tbsp butter
1 tbsp baking powder

Use your hand mixer to beat together in a bowl, the egg yolks, sugar and the butter until its creamy. Add milk and beat again. Then little by little add the flour and mix slowly so it won't splatter. Add the Hershey cocoa powder and the baking powder then mix again, mix well.

Wash and dry the hand mixer and in a separate bowl mix the egg whites until it becomes hard and forms a peak. Add to the cake mixture and fold it in with your spatula, don't beat it with the hand mixer. Lightly mix it together or fold it in with your spatula to keep the cake fluffy. Bake in the oven on 350*F for 35 - 40 minutes.
Don't bang around the oven otherwise the cake will sink!

Filling

1 box strawberries
1 bag Sonho de Valsa chocolate(or chocolate of your choice, just make sure you have lots of it)
1 quart of Heavy whipping cream
sugar

When the cake comes out the oven, let it cool of completely. Then slice the cake in half and lift the top half off so you can put a filling in your cake ( If you want to see how to do this, watch my Strawberry Coconut Tres Leches cake video and you'll see how its done).

In a bowl mix with your hand mixer the heavy whipping cream with about 1 cup of sugar. Mix for at least 5 minutes on high speed or until the cream turns into whip cream, thick and creamy. Taste and see if it need more sugar, if it does then add more sugar to taste and mix again.

Wash and slice all the strawberries, crush all the Sonho de Valsa chocolate or the chocolate of your choice. Sonho de Valsa is a Brazilian chocolate and can be found in a Brazilian store. Its a mild chocolate and not so sweet. But still has the right amount of sweetness to it. I suggest you choose a chocolate that is not so sweet, unless you like a really sweet cake.

Make a thick layer of whip cream as the filling of your cake, then on top of that, make a thick layer of sliced strawberries then you can either make a thick layer of the crushed chocolate over that or you can make a thin layer of whip cream again, then a thick layer of the crushed chocolate so it can stick to the whip cream better.
Cover your cake with the top cover carefully.

Cover your surprise
The whip cream you have left over, use this to cover your cake. Spread it all over the sides and top of your cake to cover your cake entirely. Then decorate our cake with the left over crushed chocolate some shredded coconut if you have it and decorate as in the picture above with some sliced strawberries. (Watch video # 5 of the Strawberry Coconut Tres Leches cake to learn how to decorate the cake with a tip and pastry bag).

As always, if you ever have any questions, please feel free to comment in the comment bar below and I will answer ASAP!!!!!!!!

Monday, January 9

A baking student named Carmen (Funfetti Cup cakes)


Carmen baking

This is Carmen, she asked me how to make cup cakes for her daughters and I gave her the recipe and taught her how to bake it.... She learned well.... and believe me it was delicious!


Recipe on how to bake 'Funfetti Cup Cakes'
You need:

Rainbow sprinkles (as much as you would like)
1cup vegetable oil
2 cups white sugar
4 eggs
2 tsp Vanilla extract
2 3/4 cup flour
3 tsp baking powder
1 tsp salt
1 3/4 cup milk

Preheat the oven to 350* F, grease muffin pans with Pam butter spray. Mix together using your hand mixer, the vegetable oil and the sugar. Mix together until well mixed in.

Then add in the eggs and the vanilla extract, mix again. In a separate bowl combine the flour, baking powder, and salt. Add flour mixture to the creamed mixture a little at a time, alternating with the milk ( so one time you put a little flour and mix, then you put a little milk and mix. You keep doing this until your flour and milk is all gone.)

Then add as much rainbow sprinkles to the mix that you would like. Mix again, just enough to blend it in. Pour into your muffin pans and bake in the oven for about 35 - 40 minutes or until you stick a knife in it and the knife comes out dry.

Cool off and frost with your favorite frosting!!!!

Thanks Carmen!!!

AS ALWAYS, IF YOU HAVE ANY QUESTIONS WHILE BAKING, SIMPLY COMMENT IN THE COMMENT BAR AND I WILL ANSWER ASAP.

Tuesday, January 3

'Strawberry Coconut' Tres Leches cake recipe


WATCH THE VIDEOS ON ME MAKING THIS CAKE BELOW!
You Need:
6 egg white
6 egg yolks
2 1/2 cups Sugar
2 cups flour
1 cup warm milk
1 tablespoon baking powder
2 can condensed milk
1 can evaporated milk
1 quart heavy whipping cream
1 small box fresh Strawberries
1 cup coconut

Preheat your oven to 350' F. In a large bowl beat together the egg whites and 2 cups of sugar until they become fluffy and creamy, then add the egg yolks, flour, warm milk and baking powder, mix until the mixture is creamy.

Get either a large rectangular Pyrex, or two smaller rectangular Pyrex just as I did. Butter the Pyrex with PAM butter spray and pour the cake mix into the Pyrex. Bake for 30 - 35 minutes.

When it comes out the oven, let it cool off and turn over onto a deep tray. If you baked one large cake then you need to slice the cake in half to add the filling. If you baked two smaller cakes then turn over one cake onto a deep tray.

In the blender or with your hand mixer, blend together 1 can condensed milk, 1 can evaporated milk and fill up 1 can of heavy cream, mix all together until well blended.

Spray a small pot with PAM butter spray and add 1 can condensed milk to the pan on low fire mix constantly and add 1/2 cup coconut. Continue mixing until the consistency is thicker but still spreadable. (If you don't want your filling as sweet, you can add 1 egg yolk to the condensed milk. Mix vigorously, then add to the pot and follow directions as above).

Poke lots of wholes to the bottom layer of your cake then pour half the Tres Leches mixture onto the cake. Fill cake with your coconut condensed milk filling. Wash and slice the strawberries and layer on top of the filling.

Get the other half of your cake and cover cake with the top layer. Again poke lots of wholes onto the top layer of your cake and pour the other half of the Tres Leches onto the cake. The cake will eventually soak up the milk.

Refrigerate the cake overnight or for at least 12 hours.

Make whipped cream by getting 2 cups heavy cream and 1/2 cup sugar beat with your hand mixer for about 3 minutes or until the mixture becomes thick as whipped cream. Be careful to not over beat or else it will turn into butter. Use this to gently cover your cake. Make more whipped cream as needed. Top cake with coconut and Fresh whole Strawberries.

Follow my video part 5 to learn how to decorate your cake. But, I suggest you watch all of them to have a better picture on how to 'Bake something sweet' Tres Leches style!

Bon Appetite!!!

'Strawberry Coconut' Tres Leches cake part 5


I hope the videos helped you to learn the recipe.
Please let me know if it did, that way I know and I can keep them coming.

'Strawberry Coconut' Tres Leches cake part 4


Watch all the other videos, there are 5 in total.

'Strawberry Coconut' Tres Leches cake part 3


Remember, If you have any questions or comments, please write it in the comment bar below and I will answer your questions ASAP.

Seriously, make this cake its so delicious!

Promise yourself a New Year, New recipes, and a goal to learn New things.

Monday, January 2

'Strawberry Coconut' Tres Leches cake part 2


I was my own camera guy at times, so I apologize for the close ups

'Strawberry Coconut' Tres Leches cake part 1


Hello everyone!!! Happy New Years to you all!
As I promised; a new and improved blog.
Check out these videos on how to bake and decorate a delicious
'Strawberry Coconut' Tres Leches cake

Watch all the videos, if you have any questions or comments, please, feel free to comment in the comment bar and I will answer ASAP.

Saturday, December 10

21 days

Hello everyone

I will not be posting anything here on my blog for the next 21 days. We will be dedicating to fasting and praying for God to bless the church. This will begin tomorrow Sunday and go up until January 1, 2012 of the New Year. As much as I would love to post here, I will not be.

I hope you understand and will visit this blog back on the New Year to come. I enjoy posting these recipes for you, and I have great, new, exciting things for you in the New Year so you will just have to come back.

See you soon.... My next post will be on the 2nd of January 2012. See you then! Once again, Thanks for understanding.

Sunday, December 4

Maria's Lady Fingers cake recipe

IF AT ANY TIME YOU NEED HELP WHILE BAKING ONE OF MY RECIPES, DO NOT HESITATE TO COMMENT IN THE COMMENT BAR OF THE RECIPE YOU ARE BAKING AND I WILL COME TO YOUR RESCUE ASAP. (simply ask your question, and I will answer).


3 packs of 8oz cream cheese (room temperature)
3 packs of Lady fingers sponge cake (check my recipe to make)
1 can of cherry pie filling (you can use any fruit filling you want)
1 cup sugar
1 can 20oz crushed pineapple
16oz heavy cream

Use your hand mixer and beat the cream cheese one at the time, add sugar and beat.

Drain the crushed pineapples, over a bowl so you can use the pineapple juice.

Add the heavy cream to the cream cheese mixture and beat until everything is well blended. Then add the drained crushed pineapples, this time you need to mix the mixture with a wooden spoon, NOT THE HAND MIXER. Mix until the pineapples are well mixed in and everything is well blended together.

Above, I placed an image of a 'Spring form pan', these pans are excellent to use for this type of cake, and for Cheesecake, Tiramisu and so on. If possible, buy one of these pans because alot of recipes that I do require this pan as well. So it'll be money well spent!

If you have a Springform pan then use that, if you don't then grab a round Pyrex or a big round bowl, something you will make this cake in.

Layer the bottom and sides of the pan or bowl with the Lady Finger sponge cake, then pour half of the cream cheese mix into the pan/bowl.

Get the pineapple juice that you have separated and dip the Lady Fingers sponge cake into the pineapple juice and make another layer of Lady Fingers sponge cake to cover the cream cheese mixture.

Pour the rest of the cream cheese mixture over the Lady Fingers that you dipped in the pineapple juice.

Open your can of Cherry pie filling (you can use any fruit pie filling) and pour it over the cake. Cover the cake with a plastic wrap and place it in the refrigerator over night or for at least 8 hours.

Twalla! Enjoy!!!!

Thursday, December 1

Maria's Lady finger cake


Ladies and Gentlemen, thanks for visiting my page!

This is my favorite dessert out of all times. It is compared to a cheesecake but its only better.
Within the next few days, I will be posting the recipe for this 'Maria's Lady finger cake'.

Doesn't it look scrumptious???

Please keep an eye on my blog over these next few days because I have a few exciting updates that I will be posting, including the recipe for my favorite dessert!!!
You don't want to miss it, So, since your here, take advantage and subscribe to receive my posts directly to your email .

Sunday, November 27

LADY FINGERS (sponge cake)

I don't know if you have ever heard of Lady fingers before. This is a type of sponge cake or angel food cake but in the form of fingers.

Now why they call it 'Lady fingers', I don't know. All I know is that this simple but delicious Lady fingers is expensive if you were to buy it in the store and they are only sold in high end grocery stores. There is two types of Lady fingers; there is the Lady Fingers champagne cookie and there is the Lady Fingers sponge cake. Lady fingers (sponge cake) is soft like a cake and can be used to make almost every dessert, and I will show you how.

Make this recipe of Lady Fingers (sponge cake) and this week I will teach you how to make my all time favorite dessert. Out of all the desserts I make, this dessert has got to be the most popular and is my favorite. I have yet to find a person who doesn't like it. It's that delicious!!!

So, I will give you this recipe on Thursday December 1, 2011. First make this Lady Fingers (sponge cake) because you will need it for the upcoming recipe that I will post this Thursday afternoon. Here we GO....................


LADY FINGERS (sponge cake)

you will need:
6 eggs
8oz sugar
8oz flour

First you will separate the egg yolks and place it in one bowl, then place the egg whites in another medium sized bowl. Add the sugar to the egg whites and mix it on high speed with your hand mixer for about 2 minutes or a little more. You will be mixing it until it becomes triple its size and it will be like a creamy whip cream. Set aside.

Then place the egg yolks in a medium sized bowl and mix with your hand mixer until it becomes pale yellow in color and fluffy, you will be mixing for about 2 minutes or a little more.

Now you will softly mix the egg whites mixture into the egg yolks mixture. DO NOT use the hand mixer for this part, you will need to use a wooden spoon or a spatula to very gently fold the whites into the yolks. Do not beat it, but gently fold it in (gently mix it in) until it is well blended and even in color.

Get a strainer, the one you use to strain your rice. Get the strainer and sift the flour. (You need to get a bowl and place the strainer over the bowl then throw the flour in the strainer and shake the strainer until all the flour goes threw.) Then you will add the flour little by little to the egg mixtures and again, fold it in. Gently mix with a wooden spoon or spatula until all the flour is well blended in. You need to do this gently so you can keep the mixture looking fluffy.

Preheat your oven to 400* , Grab a long flat sheet pan and lay a piece of aluminum foil on it, then spray with a little 'PAM butter spray or rub a LITTLE bit of butter on the aluminum foil and dust lightly with a little flour, just enough for the Fingers not to stick. Now, If you have a pastry bag you can use that and grab a large round tip. If you don't have one, then you can use a tablespoon.

Let me warn you that this next step is very messy, but its worth it!

Fill the pastry bag with the Lady Fingers mixture and try the best you can to squeeze the mixture out a little at a time onto the aluminum foil in the shape of long fingers. If you don't have a pastry bag, then with a tablespoon, scoop a little of the mixture at a time, and shape it as best you can on the aluminum foil in the shape of long fingers.
(I just found a baking pan for this online. If you go to google and type in -Lady Fingers pan -you will find then for about $12. This pan will make things a lot easier, because you won't need to go threw this messy step, all you will need to do is fill the pan with the mixture and bake.)

Bake in the oven for a few minutes, just until it is light golden in color. Do not over bake or else they will become hard. The idea is for them to be spongy and soft. Once they are lightly golden, remove from the oven and cool. Keep doing this until you have baked all your Lady Fingers. If you need to use the long sheet pan again, simply remove the aluminum foil with baked Lady Fingers and cool on a rack as you reuse your sheet pan to bake more. I was able to bake about 100 thin Lady fingers when I did mine. After baking all the Lady Fingers and they are all cooled, you can gently remove them from the aluminum foil and store in a cool dry place if you won't be using it within 2 days then place them in a plastic container and freeze for later use.

Twalla, there you have it......FREE Lady Fingers!!!!

Don't miss my all time favorite dessert and most popular recipe this Thursday afternoon December 1, 2011.

Friday, November 18

BANANA COCONUT DELIGHT !


Ladies and Gentlemen this dessert is a delight to your taste buds!
Delicious!!!

You will need:
3 tablespoons cornstarch
1 1/3 cups of water
1 can sweetened condensed milk
3 egg yolks
2 tablespoons of butter or margarine
1 teaspoon vanilla extract
1 cup flaked coconut
2 medium bananas
2 tablespoons lemon juice from concentrate
Whipped cream or heavy cream and sugar

NOTE: IF YOU DON'T HAVE AN INGREDIENT OR TWO ON THIS INGREDIENTS LIST, JUST COMMENT TO ME IN THE COMMENT BAR BELOW AND I WILL TELL YOU WHAT YOU COULD USE INSTEAD. (Sometimes there are ingredients you could use to replace something you don't have, and sometimes you could just skip that ingredient. But before you do, ask me first.)

HERE WE GO !!!

Get a bowl and place your sweetened condensed milk and your egg yolks in the bowl, then mix it with your hand mixer for like a minute, just until its mixed together. Then in another bowl dissolve the cornstarch in the water and put it in a medium sized pot and add your sweetened condensed milk mixture. Turn the stove top fire to medium heat and place the pot over the stove and keep watching the sauce and mixing this sauce until it becomes thicker and a little bubbly. (If you don't keep your eye on it and keep mixing, it WILL get stuck to the bottom of the pot and burn pretty easily, SO KEEP WATCHING AND CONSTANTLY STIRRING, you will stir for a while, until its thicker. ) It will get thicker like a pudding would. When this mixture is thicker and bubbly, remove the pot from the heat and turn off the fire. Add the butter and the vanilla to the mixture and mix it in. Leave it aside to cool as you follow the other steps.

Then you are going to peel and slice your bananas into round slices, then place them in a bowl and throw the lemon juice over the bananas. Mix the bananas in this lemon juice then drain the juice out.

Now I want you to look around your kitchen for something sweet that you can crumble to make the pie crust. In other words-you can either use a pie crust at this stage or you can look around your kitchen for some slices of leftover cake from yesterday, some cookies, sweetbread, anything yummy and sweet. If in doubt, comment to me in the comment bar below, and I will let you know if you could use it or not.

Get a nice big round bowl for you to make your BANANA COCONUT DELIGHT in, and I want you to get whatever it is that you are going to be using as you crust and crumble it in this bowl. Don't exaggerate, it doesn't have to be a lot, make it into a thin to medium sized layer for your crust. Then organize the banana slices over this crust layer. Lay the banana slices over this crust nice and organized.

Now, go back to your pudding mixture and add 1/2 cup coconut and hand mix it in. Then you are going to pour the pudding mix over the bananas that you just layered in the bowl. NOTE: If you still have some of your crust left over, you can pour half the pudding mix, then make another layer of your crust and banana, then pour the rest of the pudding mix on top. Its up to you! Cover the bowl with a piece of plastic wrap and place your dessert in the refrigerator for about 4 hours.

After four hours, you are going to cover the DELIGHT with your store bought whip cream or you can make your own whip cream. To make your own whipped cream, all you need to do is pour some heavy cream in the bowl and add sugar then with your hand mixer your going to mix it high speed for about 3 minutes or so. Your going to mix it until its fluffy and can make waves. DO NOT OVER MIX OR IT WILL TURN INTO BUTTER!!!!!!!!

After you cover your BANANA COCONUT DELIGHT with whipped cream, your going to take the other 1/2 cup coconut that is left and your going to place it in a saucepan and toast it over medium heat. Keep watching and mixing the coconut for it not to burn. They will turn golden brown just like the picture I have above. Then toss the toasted coconut over the whipped cream and add cherry's on top to decorate if you would like.

Twala your done. Enjoy!!!!!!!!!!!!!!

REMEMBER IF AT ANY POINT IN TIME WHILE DOING THIS RECIPE, IF YOU NEED MY HELP, JUST COMMENT IN THE COMMENT BAR BELOW AND I WILL RESPOND A.S.A.P TO GUIDE YOU THROUGH IT.

Monday, November 14

Apple Decors

can you find the turtle and swan?

Hi Ladies!

Here are two apple decorations that I did when Bishop Bira and his wife came over to our church. This decoration is easy and is a beautiful centerpiece to put in the center of your table with a fruit bowl like I did in these pictures above.

This is a true eye catcher! and is great to do when you have guests coming over your house.

Let me know if your interested in learning how to carve your apples for this Apple decor.

You want to learn how to do it?
Comment in the comment bar, and I will give you step by step lessons. Its really easy to do!