Sunday, November 27

LADY FINGERS (sponge cake)

I don't know if you have ever heard of Lady fingers before. This is a type of sponge cake or angel food cake but in the form of fingers.

Now why they call it 'Lady fingers', I don't know. All I know is that this simple but delicious Lady fingers is expensive if you were to buy it in the store and they are only sold in high end grocery stores. There is two types of Lady fingers; there is the Lady Fingers champagne cookie and there is the Lady Fingers sponge cake. Lady fingers (sponge cake) is soft like a cake and can be used to make almost every dessert, and I will show you how.

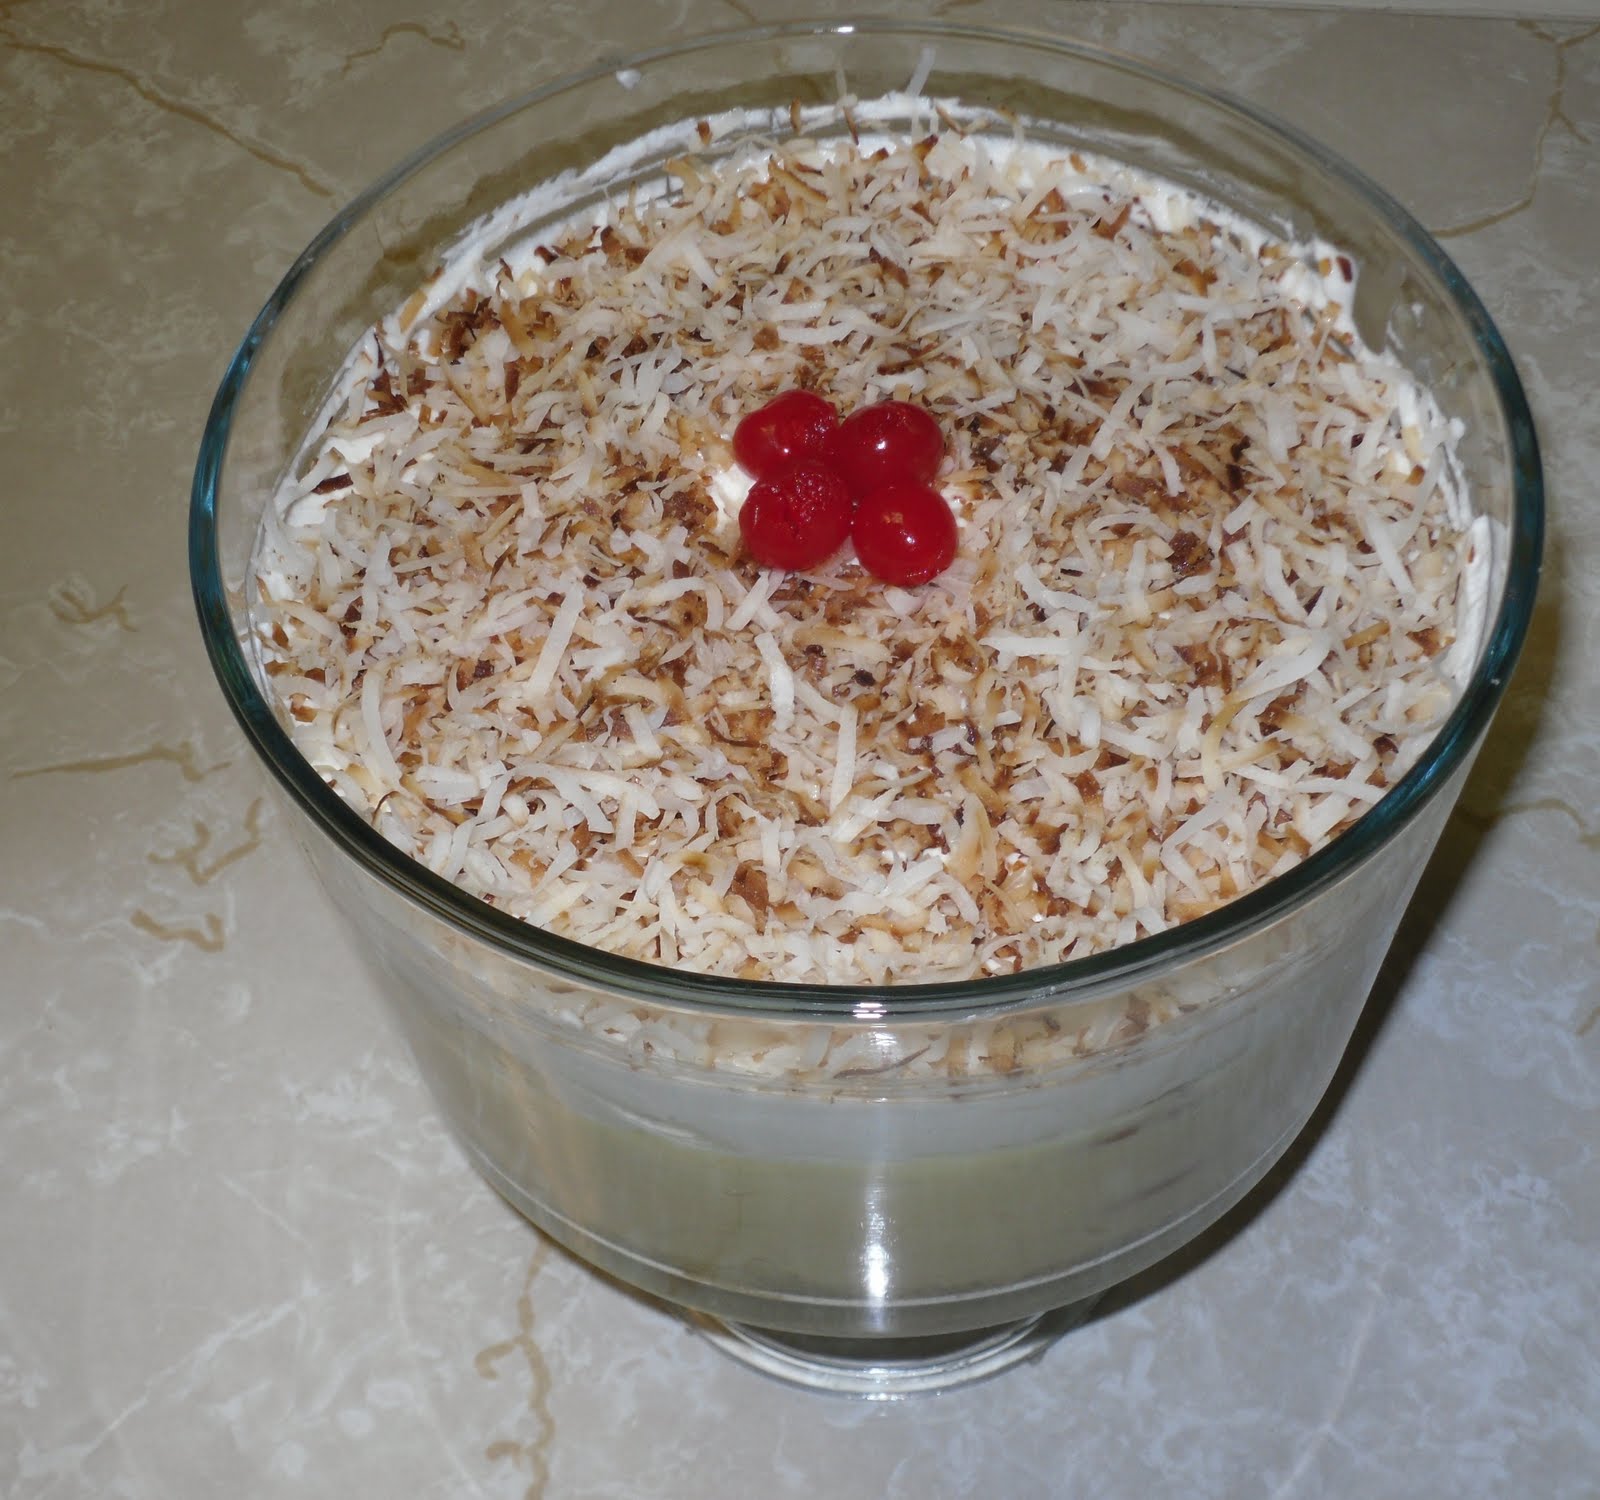
Make this recipe of Lady Fingers (sponge cake) and this week I will teach you how to make my all time favorite dessert. Out of all the desserts I make, this dessert has got to be the most popular and is my favorite. I have yet to find a person who doesn't like it. It's that delicious!!!

So, I will give you this recipe on Thursday December 1, 2011. First make this Lady Fingers (sponge cake) because you will need it for the upcoming recipe that I will post this Thursday afternoon. Here we GO....................


LADY FINGERS (sponge cake)

you will need:
6 eggs
8oz sugar
8oz flour

First you will separate the egg yolks and place it in one bowl, then place the egg whites in another medium sized bowl. Add the sugar to the egg whites and mix it on high speed with your hand mixer for about 2 minutes or a little more. You will be mixing it until it becomes triple its size and it will be like a creamy whip cream. Set aside.

Then place the egg yolks in a medium sized bowl and mix with your hand mixer until it becomes pale yellow in color and fluffy, you will be mixing for about 2 minutes or a little more.

Now you will softly mix the egg whites mixture into the egg yolks mixture. DO NOT use the hand mixer for this part, you will need to use a wooden spoon or a spatula to very gently fold the whites into the yolks. Do not beat it, but gently fold it in (gently mix it in) until it is well blended and even in color.

Get a strainer, the one you use to strain your rice. Get the strainer and sift the flour. (You need to get a bowl and place the strainer over the bowl then throw the flour in the strainer and shake the strainer until all the flour goes threw.) Then you will add the flour little by little to the egg mixtures and again, fold it in. Gently mix with a wooden spoon or spatula until all the flour is well blended in. You need to do this gently so you can keep the mixture looking fluffy.

Preheat your oven to 400* , Grab a long flat sheet pan and lay a piece of aluminum foil on it, then spray with a little 'PAM butter spray or rub a LITTLE bit of butter on the aluminum foil and dust lightly with a little flour, just enough for the Fingers not to stick. Now, If you have a pastry bag you can use that and grab a large round tip. If you don't have one, then you can use a tablespoon.

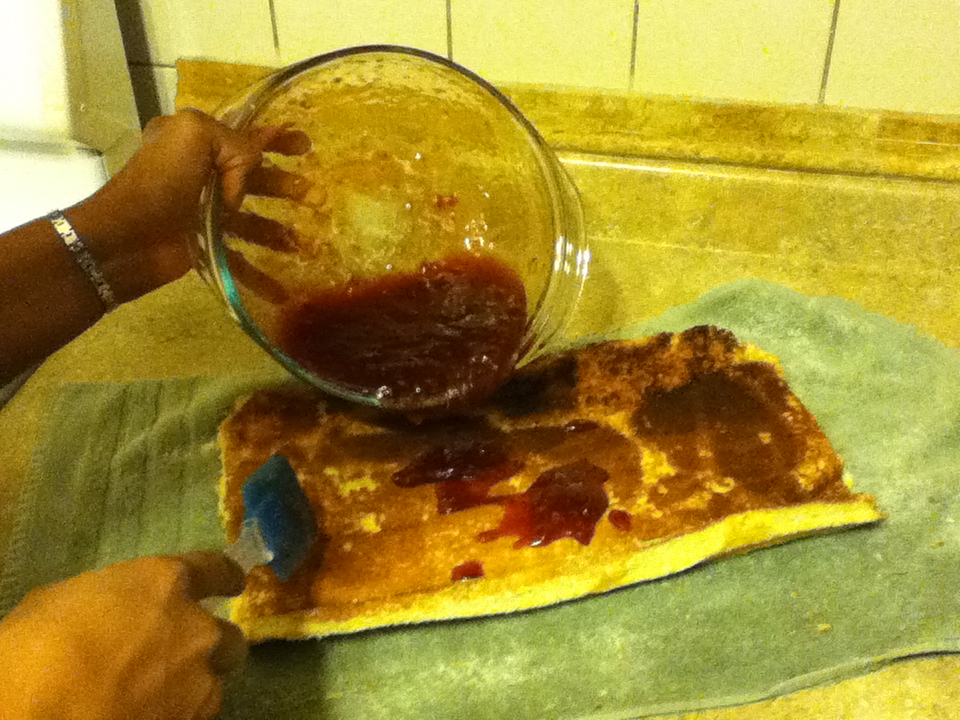
Let me warn you that this next step is very messy, but its worth it!

Fill the pastry bag with the Lady Fingers mixture and try the best you can to squeeze the mixture out a little at a time onto the aluminum foil in the shape of long fingers. If you don't have a pastry bag, then with a tablespoon, scoop a little of the mixture at a time, and shape it as best you can on the aluminum foil in the shape of long fingers.
(I just found a baking pan for this online. If you go to google and type in -Lady Fingers pan -you will find then for about $12. This pan will make things a lot easier, because you won't need to go threw this messy step, all you will need to do is fill the pan with the mixture and bake.)

Bake in the oven for a few minutes, just until it is light golden in color. Do not over bake or else they will become hard. The idea is for them to be spongy and soft. Once they are lightly golden, remove from the oven and cool. Keep doing this until you have baked all your Lady Fingers. If you need to use the long sheet pan again, simply remove the aluminum foil with baked Lady Fingers and cool on a rack as you reuse your sheet pan to bake more. I was able to bake about 100 thin Lady fingers when I did mine. After baking all the Lady Fingers and they are all cooled, you can gently remove them from the aluminum foil and store in a cool dry place if you won't be using it within 2 days then place them in a plastic container and freeze for later use.

Twalla, there you have it......FREE Lady Fingers!!!!

Don't miss my all time favorite dessert and most popular recipe this Thursday afternoon December 1, 2011.

Friday, November 18

BANANA COCONUT DELIGHT !


Ladies and Gentlemen this dessert is a delight to your taste buds!
Delicious!!!

You will need:
3 tablespoons cornstarch
1 1/3 cups of water
1 can sweetened condensed milk
3 egg yolks
2 tablespoons of butter or margarine
1 teaspoon vanilla extract
1 cup flaked coconut
2 medium bananas
2 tablespoons lemon juice from concentrate
Whipped cream or heavy cream and sugar

NOTE: IF YOU DON'T HAVE AN INGREDIENT OR TWO ON THIS INGREDIENTS LIST, JUST COMMENT TO ME IN THE COMMENT BAR BELOW AND I WILL TELL YOU WHAT YOU COULD USE INSTEAD. (Sometimes there are ingredients you could use to replace something you don't have, and sometimes you could just skip that ingredient. But before you do, ask me first.)

HERE WE GO !!!

Get a bowl and place your sweetened condensed milk and your egg yolks in the bowl, then mix it with your hand mixer for like a minute, just until its mixed together. Then in another bowl dissolve the cornstarch in the water and put it in a medium sized pot and add your sweetened condensed milk mixture. Turn the stove top fire to medium heat and place the pot over the stove and keep watching the sauce and mixing this sauce until it becomes thicker and a little bubbly. (If you don't keep your eye on it and keep mixing, it WILL get stuck to the bottom of the pot and burn pretty easily, SO KEEP WATCHING AND CONSTANTLY STIRRING, you will stir for a while, until its thicker. ) It will get thicker like a pudding would. When this mixture is thicker and bubbly, remove the pot from the heat and turn off the fire. Add the butter and the vanilla to the mixture and mix it in. Leave it aside to cool as you follow the other steps.

Then you are going to peel and slice your bananas into round slices, then place them in a bowl and throw the lemon juice over the bananas. Mix the bananas in this lemon juice then drain the juice out.

Now I want you to look around your kitchen for something sweet that you can crumble to make the pie crust. In other words-you can either use a pie crust at this stage or you can look around your kitchen for some slices of leftover cake from yesterday, some cookies, sweetbread, anything yummy and sweet. If in doubt, comment to me in the comment bar below, and I will let you know if you could use it or not.

Get a nice big round bowl for you to make your BANANA COCONUT DELIGHT in, and I want you to get whatever it is that you are going to be using as you crust and crumble it in this bowl. Don't exaggerate, it doesn't have to be a lot, make it into a thin to medium sized layer for your crust. Then organize the banana slices over this crust layer. Lay the banana slices over this crust nice and organized.

Now, go back to your pudding mixture and add 1/2 cup coconut and hand mix it in. Then you are going to pour the pudding mix over the bananas that you just layered in the bowl. NOTE: If you still have some of your crust left over, you can pour half the pudding mix, then make another layer of your crust and banana, then pour the rest of the pudding mix on top. Its up to you! Cover the bowl with a piece of plastic wrap and place your dessert in the refrigerator for about 4 hours.

After four hours, you are going to cover the DELIGHT with your store bought whip cream or you can make your own whip cream. To make your own whipped cream, all you need to do is pour some heavy cream in the bowl and add sugar then with your hand mixer your going to mix it high speed for about 3 minutes or so. Your going to mix it until its fluffy and can make waves. DO NOT OVER MIX OR IT WILL TURN INTO BUTTER!!!!!!!!

After you cover your BANANA COCONUT DELIGHT with whipped cream, your going to take the other 1/2 cup coconut that is left and your going to place it in a saucepan and toast it over medium heat. Keep watching and mixing the coconut for it not to burn. They will turn golden brown just like the picture I have above. Then toss the toasted coconut over the whipped cream and add cherry's on top to decorate if you would like.

Twala your done. Enjoy!!!!!!!!!!!!!!

REMEMBER IF AT ANY POINT IN TIME WHILE DOING THIS RECIPE, IF YOU NEED MY HELP, JUST COMMENT IN THE COMMENT BAR BELOW AND I WILL RESPOND A.S.A.P TO GUIDE YOU THROUGH IT.

Monday, November 14

Apple Decors

can you find the turtle and swan?

Hi Ladies!

Here are two apple decorations that I did when Bishop Bira and his wife came over to our church. This decoration is easy and is a beautiful centerpiece to put in the center of your table with a fruit bowl like I did in these pictures above.

This is a true eye catcher! and is great to do when you have guests coming over your house.

Let me know if your interested in learning how to carve your apples for this Apple decor.

You want to learn how to do it?
Comment in the comment bar, and I will give you step by step lessons. Its really easy to do!

Monday, November 7

FUN ROLL CAKE


Bake with Me, Fun Roll Cake!
This cake is fun to make, easy and believe me, its delicious!

Ingredients you need is:
4 eggs
3/4 cup of sugar
1 table spoon vanilla extract
3/4 cup cake flour
3/4 tsp baking powder
1/4 teaspoon salt
Something for the filling of the cake, I used strawberry jelly/jam - you could use anything you like
2 more eggs and sugar for the topping

That's it, that's all you need to make this delicious cake
Ok lets get started!

Turn your oven onto 400 degrees.
Get the 4 eggs and separate the egg whites in one bowl and the egg yolks in another bowl. Just make sure your do it gently not to pop the egg yolk into the whites.
When your done with that, get a small bowl and your hand blender and blend up the egg white only, your going to blend it on high speed for like 2 minutes until its like triple the size and hard and fluffy. Set it aside.

Get another small bowl and put the egg yolks in there. Blend it on high speed for like 2 minutes until it is a light yellow, while your blending it, add the sugar little by little and the vanilla extract. It will be double the size, but not like the egg whites.
Get another bowl and get a strainer (the thing you use to drain the water from the rice). Put the strainer on top of the bowl, then put the cake flour, the baking powder, and the salt inside the strainer and start shaking the strainer, you'll see the stuff going through the strainer and looking fluffy, that's what you want.

Add the flour mixture to the egg yolk mix, and blend it together. Then add the egg yolk mix, but this time you don't blend it with the blender, you actually fold it in. All you need to do is get a spoon or something and kind of hand mix it slowly because you still want it to stay fluffy. Do that until its all mixed in and everything is the same color.

Get a long pan, look for the biggest pan you have, its suppose to be 15 X 10 X 1. It doesn't have to be deep, it just has to be big and long, look for the biggest one you have that can go in the oven. Then get aluminum foil and layer the bottom of the pan with aluminum foil and spray it with Pam butter spray or rub a little bit of butter on the aluminum foil and around the whole pan. Don't exaggerate! Then pour your cake mix in the pan. Put it in the oven and bake it for 8 to 10 minutes. Reminder: Never open the oven when baking a cake!
This is what its suppose to look like at this point.


When it comes out the oven, make sure you have a kitchen towel or any medium sized towel on the counter and sprinkle some sugar all over the towel. Go ahead, pour sugar directly on the towel, this will help the hot cake not to stick to the towel. Pour a little less then half a cup of sugar. Loosen the edges and take the cake out of the pan with it still in the aluminum foil, gently turn the cake over while its still hot onto this towel with sugar , then slowly peel of the aluminum foil.

Get a knife and cut of the edges of the cake on all four sides, this is just to get the crispy edges off. Then your going to roll the cake with the towel together. You just roll it up, don't worry its no going to break. It will look like this:Cool the cake like that on a rack or something for 15 minutes.
After the cake is cooled off, unroll it and fill it up with your filling, any filling you want. I used strawberry jelly. You could use any type of jelly, jam, chocolate spread like Nutella, whip cream, anything sweet and creamy that you like.

Spread this filling all over the inside of this cake, spread it from edge to edge. Then re roll the cake, but this time without the towel, OK! Don't be scared to get your hands dirty, you got to roll the cake back up and kind of push the jelly in its place.

When its all rolled up, I want to teach you a topping to cover it with. Some people like this 'Fun Roll Cake' just the way it is, others like it with a topping. If you like it with a topping then follow me.

Get the 2 more eggs that you separated for the topping, separate the whites from the yolk again. Your not going to use the yolks, only the whites. Put the egg whites in a bowl and add like 3 tablespoons of sugar to the egg whites, your going to beat it with the hand blender again just like you did before, for about 2 to 3 minutes on high speed, its going to be fluffy and creamy. Its Marshmallow. Cover the cake with this topping, or any other topping you would like.

Enjoy!!!!!!!!

If you have any questions while baking this, just write it in the comment bar, and I will answer your questions ASAP. Please send us your pictures.

Saturday, November 5

All about my new Blog!


Hello and welcome to 'Bake something sweet"!

This blog is to help you as well as teach you how to bake goodies. Everyone has a sweet tooth, so in this blog we can bake something sweet together. You will get delicious recipes and will get help one on one when you have any questions.

Baking is fun, especially when it comes out right, its always nice to look forward to eating that delicious cake you have waiting for you in the fridge. To me dessert is more important then the food; "I will eat, say I'm full, then still have space for dessert." That's my sweet tooth kickin in. You who are a sugar lover just like me and always want something sweet, then follow my blog.

With all the tips and delicious sweet recipes, just remember to have self control.

I graduated top of my class as a chef, and I will be sharing with you all the years of experience I have in baking desserts. Baking is extremely fun, but no one wants to bake something they've never baked before. They don't want to spend the money buying the ingredients, then when its time to bake it, it comes out bad.

I will be making myself available to you as much as I can and as many times a day that you need my help. The recipes that I will be posting will be fun to do, delicious, and won't need those costly ingredients- most of the ingredients will be ingredients that you use on a daily basis at home.

This is how it works:
I will post a recipe that I have baked once a week and we will all do that recipe together. One week gives you time to go food shopping, and gives everyone a chance to do the recipe and ask questions while baking the cake. the recipes will be down to earth and understandable, but as you are baking, if you have any questions, all you need to do is ask your question on the comment bar, and I will answer ASAP.

Thanks for visiting my blog
and I am excited to have you bake with me.

BAKE SOMETHING SWEET Music

Bake some thing sweet music Click this link

Check out the audio I made for this blog. I have been trying all day to find a way to play this audio as a backround to the blog but couldn't get it to work. So you just have to download it and enjoy. Click on the link and press free download on rapid share.
Thanks!